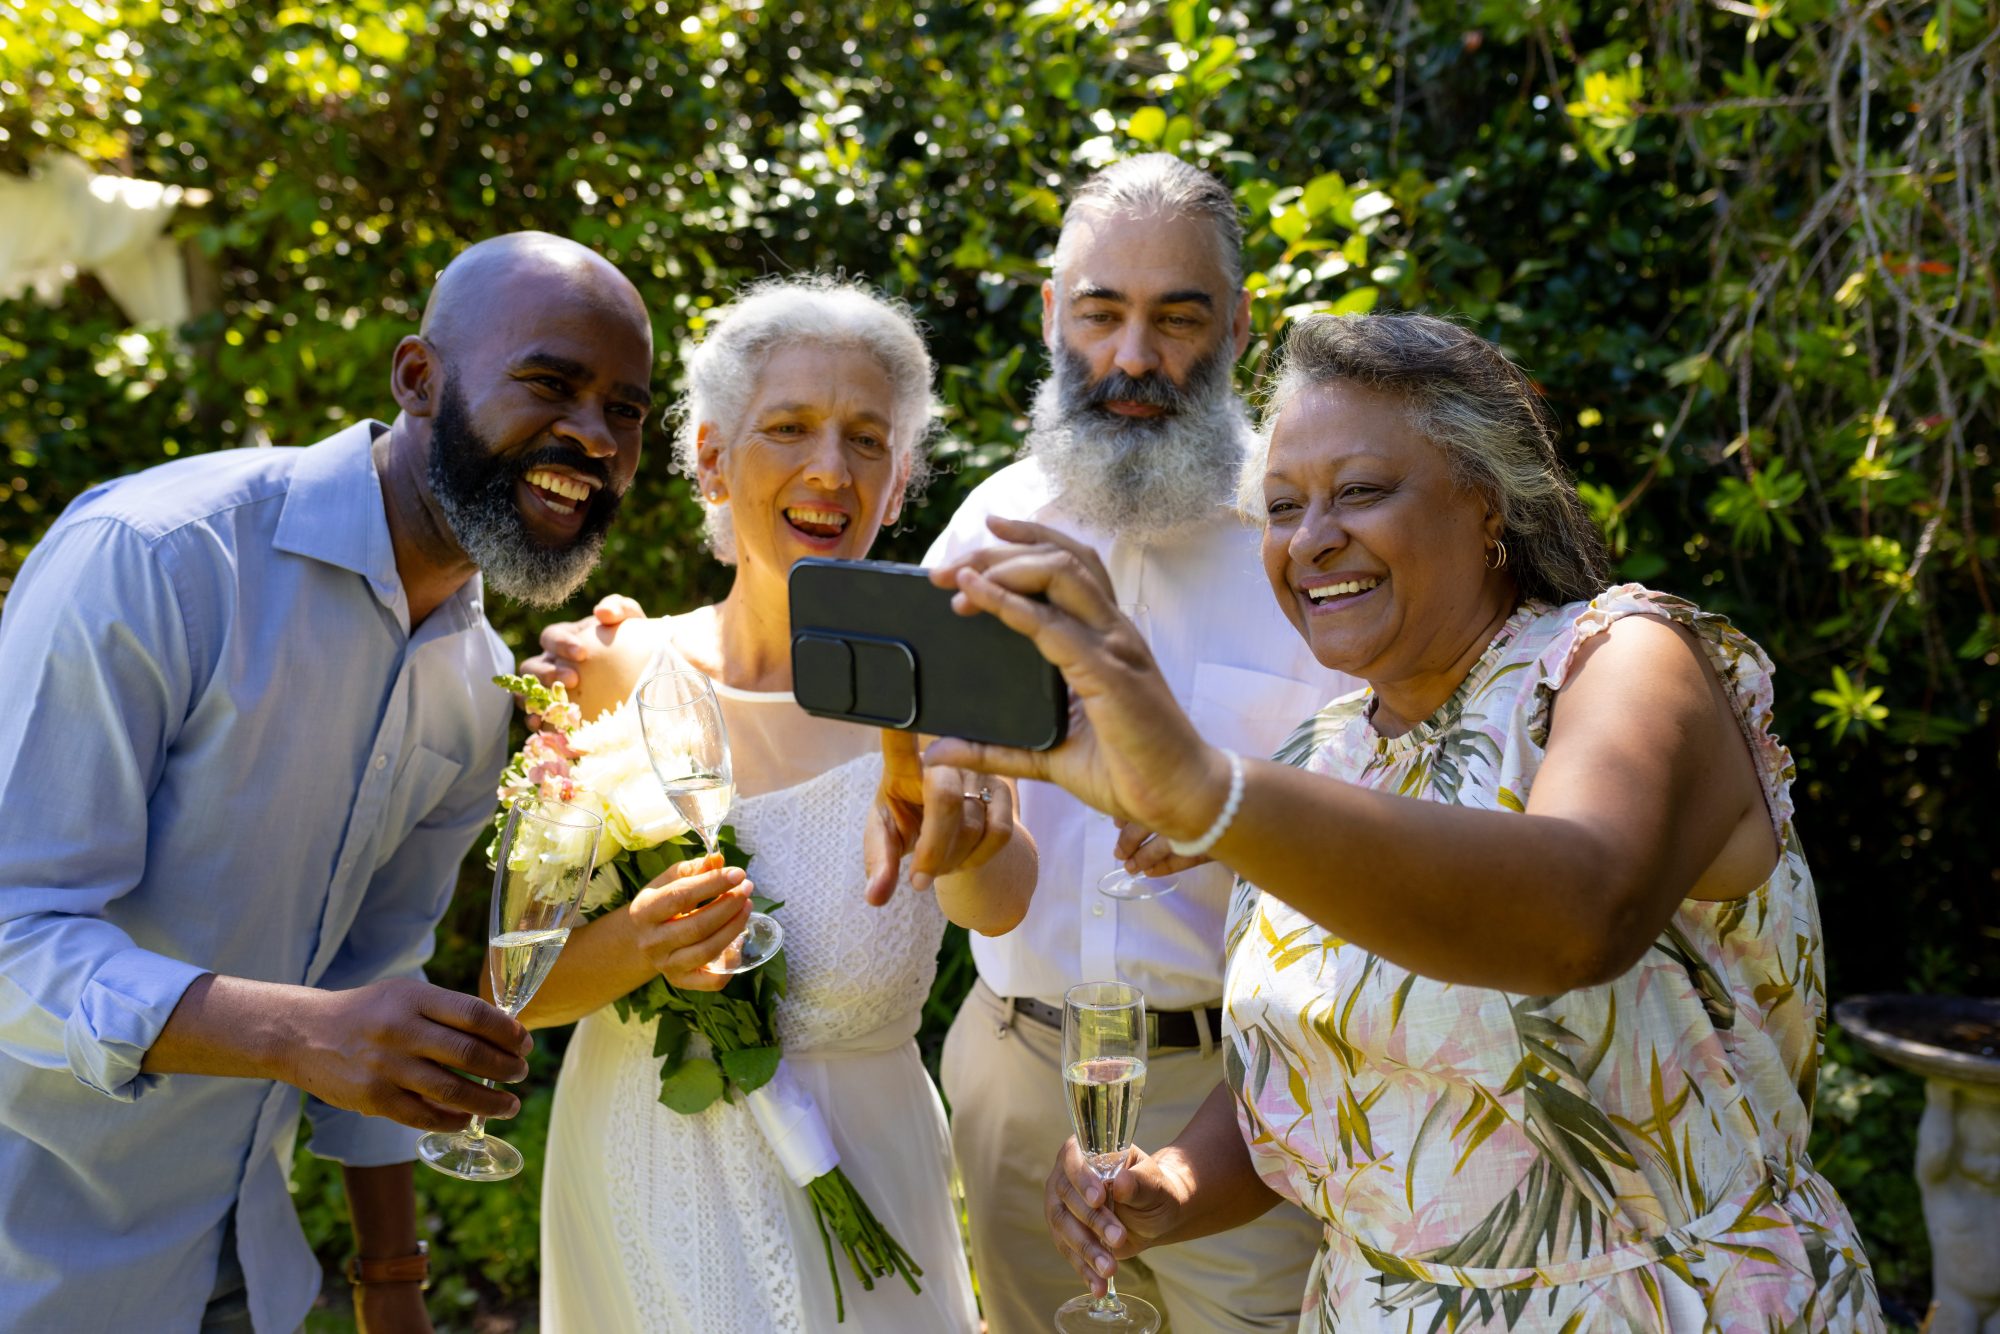

A complete wedding photo-sharing plan begins before the event and continues until every guest file has been downloaded and backed up. It covers the guest experience, venue signage, privacy, upload testing and permanent storage.
This checklist helps couples prepare a reliable collection without asking guests to spend the day working as photographers.
If you are choosing the collection system itself, start with our wedding photo sharing guide before working through the checklist below.
Eight to twelve weeks before the wedding
- Choose the guest photo-sharing system.
- Create the wedding event and confirm the account email.
- Set a strong unique account password.
- Check the gallery access period and expiry date.
- Decide whether guests will upload photographs, videos or both.
- Test the guest page on Apple and Android phones.
- Test the couple login and gallery.
Choose a system that does not require every guest to install an app or create an account.
Prepare the Couple Hub
Modern wedding photo sharing can begin before the first photograph is uploaded. Use the Couple Hub to prepare the parts of the guest experience that should already be ready before invitations and signs are distributed.
- confirm the couple and wedding details;
- add or import the guest list;
- prepare the Guest Hub welcome wording;
- decide whether the digital guestbook will be open;
- build the main wedding-day itinerary;
- choose which information guests should receive;
- prepare the first welcome notification;
- decide whether guests may view the shared gallery;
- review the gallery download settings.
Completing these items early means the QR code opens an organised wedding experience rather than an unfinished upload page.
Before designing printed materials
- Confirm the event URL is final.
- Download or copy the official event QR code.
- Keep clear space around the code.
- Include the direct web address as a backup.
- Write short, friendly upload instructions.
- Avoid publishing the couple password anywhere.
Read how wedding QR codes work before producing signs.
Four to eight weeks before the wedding
- Create welcome-sign and table-card designs.
- Add the upload link to the wedding website.
- Include it in destination or accommodation information.
- Choose somebody who can help less confident guests.
- Plan where the signs will be positioned.
- Order test prints before the complete print run.
Use wedding photo-sharing wording ideas and QR code placement ideas.
Test the final printed code
Do not rely only on a digital preview. Test the real printed card or sign:
- from the expected distance;
- under indoor lighting;
- with an iPhone;
- with an Android phone;
- using venue Wi-Fi where possible;
- using mobile data;
- with somebody who did not set up the system.
Complete a real photograph and video upload and then remove the test files if they are not needed.
One week before the wedding
- Confirm the guest page still opens.
- Check the account login.
- Confirm the main account email is accessible.
- Pack all QR signs with the other wedding stationery.
- Give placement instructions to the venue or wedding party.
- Save the direct upload link in an easy-to-find message.
- Check the upload closing date.
On the wedding morning
- Place the welcome sign where it can be seen.
- Add cards to reception tables.
- Check the guest-book or memory station.
- Keep signage away from reflective glare.
- Make sure no sign blocks a walkway.
- Complete one final scan after setup.
During the ceremony
Respect any unplugged-ceremony request. Guest photo sharing should not encourage people to block the aisle or photograph when the couple has asked them not to.
The professional photographer remains responsible for dependable coverage. Guest contributions can begin at the reception or whenever phone use is appropriate.
Read how professional and guest photography work together.
During the reception
- Make sure table cards remain visible.
- Remind evening guests that videos are welcome.
- Allow guests to upload later if signal is poor.
- Do not repeatedly announce the gallery.
- Encourage natural participation rather than a compulsory shot list.
The candid guest photography checklist provides gentle inspiration.
What the guest uploader should provide
- a clear event name;
- mobile-friendly file selection;
- support for multiple photographs;
- supported video uploads;
- optional contributor names;
- an optional message;
- visible upload progress;
- browser-side batching;
- a clear success message;
- a safe retry option.
Before guests arrive
- confirm the Guest Hub opens from the printed QR code;
- check the welcome message and event information;
- confirm the itinerary contains the correct timings;
- make sure the digital guestbook is available if required;
- check whether the guest gallery should be visible;
- send any scheduled arrival or venue information;
- complete one final upload from a guest device.
During the wedding
The QR code can serve several purposes during the celebration. Guests may use it to revisit wedding information, upload memories, sign the digital guestbook or browse the shared gallery when enabled.
Do not make every feature compulsory. The best Guest Hub is useful without distracting guests from the wedding itself.
The morning after
- thank guests for celebrating;
- send or release the scheduled morning-after notification;
- include the direct Guest Hub link;
- mention photographs and short videos;
- invite guests to leave a digital guestbook message;
- remind guests that no app is required;
- state the upload deadline;
- tell them they can use home Wi-Fi;
- avoid repeatedly contacting guests individually.
During the upload period
- check that new files are appearing;
- review names and messages;
- confirm videos play;
- remove any obviously incorrect or unwanted upload where appropriate;
- keep the account password private;
- monitor the expiry reminder email.
Before the gallery expires
- request the complete ZIP export;
- confirm the email destination;
- download the archive before the final day;
- extract the ZIP;
- open photographs from several upload groups;
- play videos with sound;
- compare the file total with the gallery;
- keep the archive until all checks are complete.
Follow the complete wedding gallery download guide.
Permanent backup checklist
- keep one untouched master folder;
- copy it to an external drive;
- create an off-site or cloud backup;
- do not keep every copy connected to one computer;
- protect cloud accounts with two-step verification;
- check the backups at least once or twice a year.
Read how to back up wedding guest photos safely.
Review the digital guestbook and gallery controls
- read new guestbook messages;
- confirm the guestbook remains open for the intended period;
- review the shared gallery visibility;
- hide any upload that should not be shown to guests;
- check whether guest downloads should remain available;
- confirm the private Couple Hub still contains the complete collection.
The shared guest view and the couple’s private management view should remain separate. See how a private wedding gallery for guests works, including visibility, hidden uploads and couple-only controls. Couples can provide a welcoming gallery experience without giving guests access to private controls.
Complete wedding photo-sharing timeline
| Stage | Priority |
|---|---|
| Planning | Create and test the event |
| Printing | Use one stable QR code and direct link |
| Wedding day | Repeat clear signs without interrupting guests |
| Following day | Send one useful reminder |
| Before expiry | Download and verify the archive |
| Long term | Maintain multiple permanent backups |
Frequently asked questions
Practical answers for couples preparing a wedding photo-sharing plan.
When should a wedding photo gallery be created?
Create it before invitations, table cards or signs are printed so the final QR code and URL can be tested properly.
How many QR signs should be used?
Use several natural touchpoints, including a welcome display, table cards and the morning-after message.
Should guests upload during an unplugged ceremony?
No. Respect the couple’s ceremony request. Guest uploads can begin at the reception or after the wedding.
When should the complete gallery be downloaded?
Request it well before expiry so there is time to extract, verify and back up every photograph and video.
Plan the complete guest experience from beginning to end
Wed-Snap supports the journey from guest-list preparation and welcome notifications through to the wedding itinerary, Guest Hub, uploads, digital guestbook, gallery controls and final secure download.
See how Wed-Snap works, review the complete feature list or create your wedding for £29.99.